Downloadable and Editable Hang Tag Templates for Your Brand
Let me guess – you’re sitting there right now, staring at yet another batch of product tags that need designing.
You’re looking for a faster, more productive way to handle this process, not only saving you time and ensuring you don’t lose your mind, but also produce high-quality hang tags that really sell your products.
You’re in the right place.
Here at SilkPLM, we take pride in our dedication to creating the best and most beautiful hang tag templates to get your creative juices flowing and the job done right.
And these Adobe InDesign templates are the result: professionally designed, optimized, and ready to make your own.
From managing a boutique collection to coordinating tags for a national chain, these templates will become your new secret weapon.

Pro tip: Every template comes in both portrait and landscape orientations. I learned this the hard way – you never know when you’ll need to switch things up for different product lines.
Why Use Professional Templates?
If you’re thinking, “Hold up, I can design my own tags.” well, you wouldn’t be here 😉.
For further convincing, there are plenty of reasons to use templates for price tags, hang tags, and in every other area of your business.
- Time and resource benefits: Using templates saves you time, money, staff hours, and energy. You don’t need to reinvent the wheel every single time, nor do you have to struggle trying to create professional designs from scratch.
- Quality advantages: When you’re using professionally designed templates, you’re getting years of retail expertise built right in. Each template includes industry-standard measurements and specifications, print-ready color profiles (CMYK optimized), professional typography hierarchies, and proper bleed and safety margins.
Here’s something most people don’t realize: consumers say they’ve questioned a brand’s legitimacy based on poor tag quality. That’s not a risk worth taking when the solution is this simple.
Pro tip: Even major retailers use templates – they just don’t talk about it. It’s not about starting from scratch; it’s about smart customization of proven designs. Think of these templates as your starting point, not your limitation.
Customization Features
Here’s where it gets exciting. When you use us at SilkPLM, each template is fully customizable in Adobe InDesign, meaning all the hard work is done for you, including:
- Color swatches are pre-set but easily adjustable
- Text styles are already formatted (but feel free to change them)
- Image placement zones are clearly marked
- Barcode areas are properly sized and positioned
The best part?
We’ve built in what we call “smart layers” – organized layer structures that make customization intuitive. Even if you’re relatively new to InDesign, you can navigate and modify these templates like a pro.
And remember those brand guidelines you’re always trying to maintain? I’ve included template variants specifically designed for:
- Luxury presentation
- Casual/lifestyle brands
- Sustainable/eco-friendly messaging
- Promotional events
How to Get Started with our Hang Tag Templates

Color is such an important part of designing professional, effective hang tags
Alright, let’s get you up and running with these templates. Don’t worry if you’re not a design guru – the process is ridiculously straightforward, and you can have a professional hang tag in just a few minutes.
Technical Requirements
First things first, here’s what you’ll need:
- Adobe InDesign (CC 2020 or newer)
- Basic fonts (Don’t worry – I’ve used standard system fonts)
- 2GB of RAM minimum (though more is always better)
- A printer capable of 300 DPI output
Customization Guide
Let me walk you through the process we recommend to all my clients:
- Start With Your Brand Basics
- Drop in your logo (pre-marked zones make this a snap)
- Update to your brand colors (just click and replace)
- Choose your preferred font style (or keep the optimized defaults)
- Customize Your Content
- Product information fields are clearly marked
- Price displays are auto-formatting
- Barcode areas are pre-sized to industry standards
Quick troubleshooting note: The most common hiccup I see is with image resolution. Remember: 300 DPI minimum for all your logos and graphics. Trust me, your printer will thank you.
Best Practices & Tips for Hang Tag Design
Do:
- Keep your most important information in the safe zones (I’ve marked them clearly)
- Stick to 2-3 fonts maximum (trust me on this one)
- Test print before ordering bulk (seems obvious, but you’d be surprised)
- Save variations with clear file names (future-you will be grateful)
Don’t:
- Overcrowd the template (white space is your friend)
- Stretch logos (I’ve seen this too often – it hurts your brand)
- Ignore the bleed marks (they’re there for a reason)
- Forget to proof your prices (the costliest mistake I see)
Print Preparation Tips
Here’s my preprint checklist that’s never failed:
- Convert all colors to CMYK
- Outline fonts (or package them with your files)
- Check your resolution (300 DPI minimum)
- Review all linked images
Final thoughts
Ready to transform your tag creation process?
These templates aren’t just about saving time – they’re about elevating your brand presence while maintaining your sanity.
Click here to get started. Your future self (and your design team) will thank you.
Fashion Labels: The Essential Guide for Clothing Brands
Fashion labels play a crucial role in your brand and shape how customers perceive your product. If you're launching a new product line and feel unsure about how to select the right labels, this guide will serve as your go-to resource!
Guide to Care Labels for Fashion Brands: Compliance & Sustainability
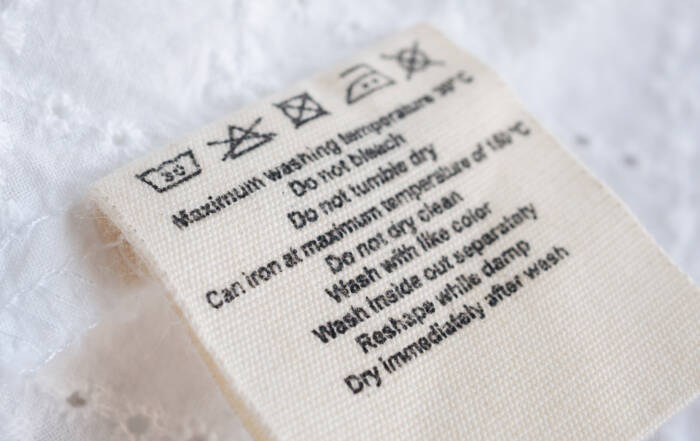
Care labels are a vital communication tool for customer satisfaction, legal compliance, and reinforcing your brand values. Whether you're a fashion startup, e-commerce business, or independent designer, understanding care labels is non-negotiable.


